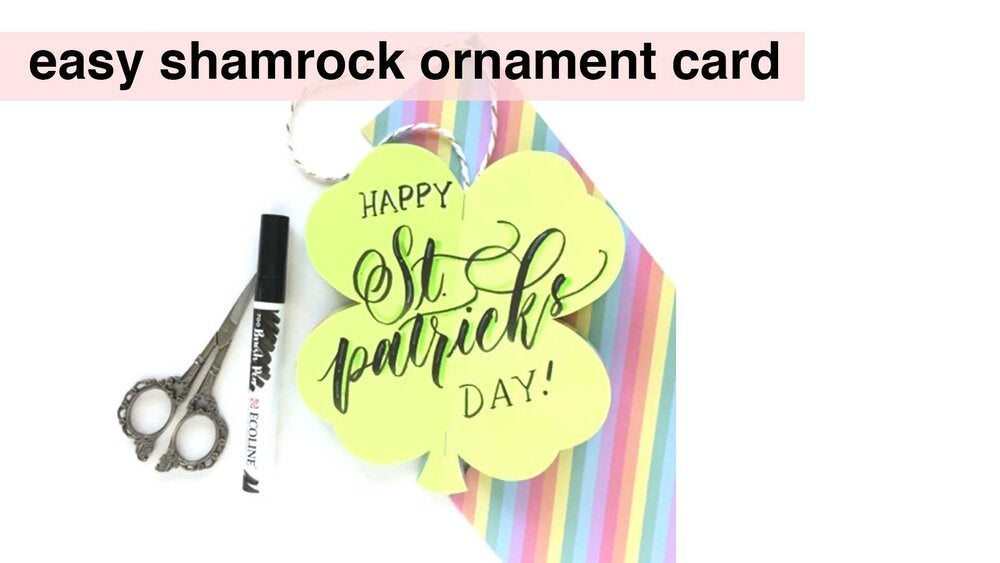

I struggled with this title because this craft is kind of like #allthethings! It is a shamrock ornament, a really creative card, a St. Patrick’s Day decoration, and it’s tons of fun to do with kids!
This year, I am having a lot of fun crafting with my son. You will see his little hands appear in this video too as he decorates the card! If you want to make a quick and easy craft, check out this video I just posted to my YouTube channel! I am also going to write out the steps below for those who would like to make one of these shamrock card ornament thingies!
Sidebar- I also have a template for you! I wish you all could have seen me go through 5 drafts of shamrock drawings…all which were bad. haha, so very bad. My mom actually intervened and handed me a heart-shaped cookie cutter and told me to use it to make the shamrock leaves. Thank goodness for Mom because it worked like a charm, and now you all get a PERFECT Shamrock shape that is symmetrical on both sides! (Insert praise hands here!! Ta-DA!!!)
Ok, now for the instructions!
You will need:
-
2 sheets of green paper
-
1 sheet of patterned card stock or scrapbooking paper
-
scissors
-
stapler
-
string
-
glue dots or double sided tape
-
pencil
STEP 1
Cut out shamrock template. Fold the cut out shamrock in half.
STEP 2
Fold one piece of your green card stock in half. On the fold, trace half of your shamrock template on the card stock.
STEP 3
Cut the shape you just traced on the fold of your card stock out. You should now have a symmetrical shamrock cut out. REPEAT steps 2 & 3 for remaining 2 sheets of paper.
STEP 4
Cut a piece of string- long enough to make a loop to hang it (like an ornament). My string was about 5 inches long. Affix one glue dot or piece of double sided tape to the top center part of your shamrock. Adhere the looped string to your glue dot or double sided tape.
STEP 5
The shamrock with the string is your CENTER piece. Stack one shamrock cut out on top of the center piece. Stack the last shamrock under the center piece. All shamrocks should be stacked on top of one another and all lined up in the center.
STEP 6
Staple once at the top of the center fold in the shamrocks. The stable should run vertically like the crease in the shamrocks. Staple one more time at the bottom of the shamrock.
Step 7
Fan all of the petals of the 3 shamrocks out to make a 3D ornament! Have fun decorating it!
If you would like to see all of these steps in action, please make sure to watch my youtube video above and subscribe to my channel, please!
I hope you all have a wonderful St. Patrick’s Day and if you make this craft, please tag me on insta: @marisa_made
Enjoy!!!